September 20, 2026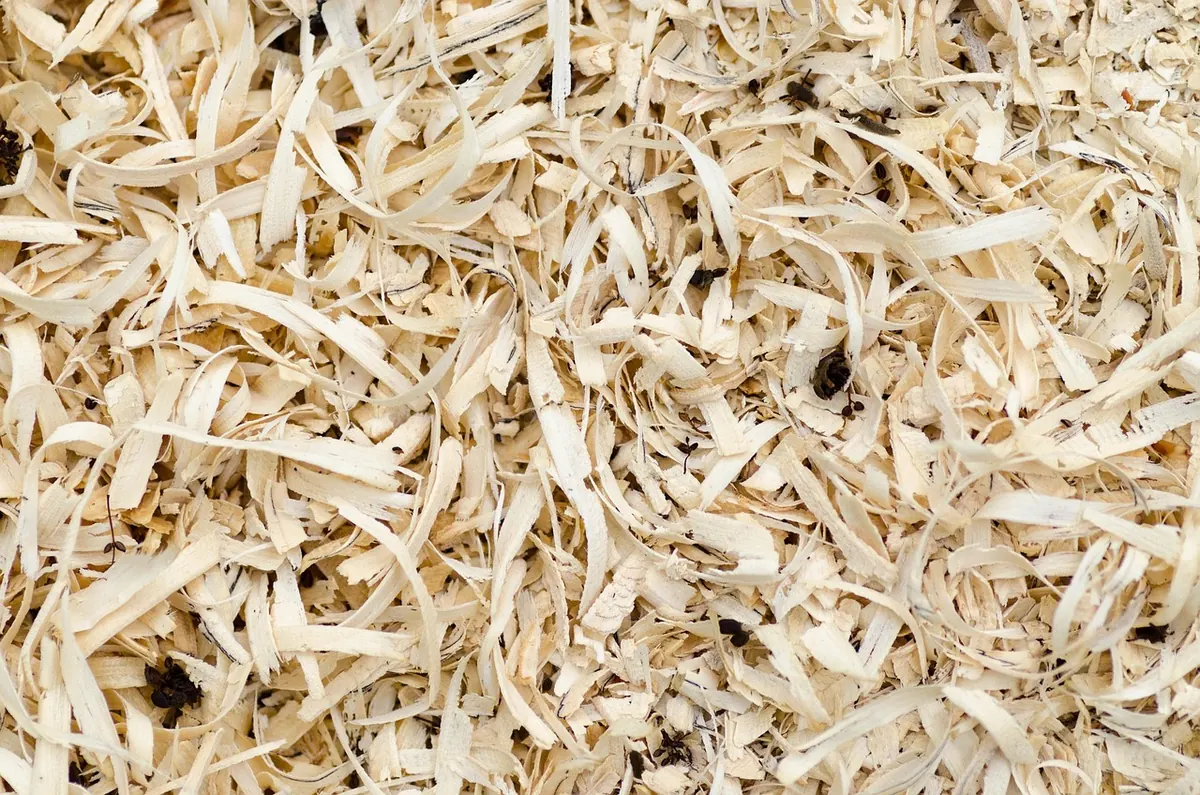
There is a particular sound a sharp knife makes in green wood: a soft, papery hiss, followed by a shaving that curls away whole. When that hiss becomes a crunch and the surface comes up furry, one of the mistakes below is usually to blame. Green wood — timber that has not been seasoned, still carrying its sap — is generous stuff. It cuts easily, smells of the hedgerow, and flatters a beginner in a way kiln-dried oak never will. What it does not forgive is technique. Here are the errors that trip people up, and the corrections that work.
Fighting the grain instead of following it
Cutting uphill. A branch is a bundle of long fibres running from base to tip, and it behaves much like a bundle of drinking straws. Slice down the slope, from the thick end towards the thin end, and the blade severs the fibres cleanly. Cut the other way and the edge levers underneath them, lifting a splinter that runs well past the point you meant to stop. Reading grain in green wood is harder than reading dry timber, because the wet surface hides it. Split a short offcut and watch which way it runs. Take a test cut on a corner you were going to remove anyway. If a cut starts to tear, stop rather than push harder: turn the piece, come at the shape from the opposite end, or make a stop cut — a vertical cut down to your line — so the fibres you are slicing are already severed.
Ignoring reaction wood and the pith. The upper side of a leaning branch carries tension wood that pulls a blade off line and pinches a saw. Split straight-grained sections rather than sawing them, and keep the pith out of finished work, because it shrinks differently from the rest and is the first place a split appears.
Working with a knife that has gone blunt
Carrying on when the edge has gone. Green wood is abrasive in a quiet way: grit in the bark, soil on the surface, wet fibres that polish an edge down faster than you expect. A dull knife does not cut, it crushes, and the giveaway is a bruised, furry surface that has to be pushed rather than guided.
Owning a stone but never stropping. Most green wood whittling needs a strop far more than a whetstone. A leather strop loaded with fine compound brings a tired edge back in twenty strokes, and fifteen minutes of carving is long enough to warrant it. When stropping stops working, when the edge will no longer bite into a thumbnail or slice newsprint cleanly, that is the moment for a fine stone, then back to the strop. Strop at the end of a session rather than the start, so the knife is ready when you are, and wipe the blade dry instead of putting it away damp. Sap left on steel overnight will show you rust by the morning.
Taking bites that are too big
Deep cuts instead of shallow slices. Trying to remove a whole handle's worth of waste in one pass needs force, and force costs control. Shallow slicing cuts, driven from the shoulder rather than flicked from the wrist, take material off almost as quickly and leave a far cleaner surface.
Levering the tip to flick out waste. When a chip is stubborn, the temptation is to twist the blade sideways to pop it out. That is how tips snap off. If a piece will not come away, it is still attached at the far end: make a stop cut to sever it, then pare it off in a controlled slice.
Work in stages. Rough the shape out first — an axe or billhook earns its place here, and plenty of whittlers make life hard for themselves by refusing to use one — then refine, and only then add detail.
Clamping the work and contorting yourself around it
Holding the piece still and twisting your wrist. If a cut feels awkward, move the wood rather than your arm. Turn the workpiece so the cut comes comfortably, brace your elbows on your knees or the bench, and let the shoulder do the work with the wrist roughly straight.
Cutting towards your holding hand. Every cut should travel away from your body or stop against a braced thumb. Keep the hand holding the wood behind the line of the blade, never in front of it, and wear a cut-resistant glove on that hand while you build the habit. If you do cut yourself, clean and dress it properly and get medical attention for anything deep. A bench hook, or a scrap of batten screwed to a board, gives you something to push against and makes most cuts safer and more accurate at the same time.
Treating green wood as though it were already dry
Leaving the pith in and drying a piece too quickly. Green wood shrinks as it dries, and it shrinks unevenly. A spoon carved to its final thinness in one sitting and left on a windowsill will often split along the pith within a day. Rough the shape out, leave a couple of millimetres more thickness than you want, take the pith out of the handle, and let the piece dry slowly: a paper bag with the shavings in it, kept somewhere cool, is plenty. Come back in a week or two, tidy the shape and finish it. Expect a little movement, and design for it rather than against it. This is not a reason to avoid green wood, only a reason to carve in two sittings.
Choosing awkward wood and blaming the knife
Reaching for knotted, dead or rotten timber. A branch that has lain in the hedge for two years, or one riddled with knots where side shoots grew, will fight you from the first cut. Look for clean, straight lengths about the diameter of your wrist, with tight bark and no soft patches. Hazel, willow, sycamore, lime, birch, alder and cherry are all pleasant to whittle; ash and oak are harder work green, but worth the effort. Cut in winter or early spring when sap is low and the wood seasons more predictably.
Dry wood is perfectly good to carve, too. It is harder under the knife and blunts an edge faster, but it moves less afterwards and takes finer detail.
A short routine that prevents most of this
None of the fixes above are complicated. They only need to become habit. Before each session:
- Strop the knife until it bites into a thumbnail.
- Check the grain with a test cut on wood you were going to remove anyway.
- Set up so the work is supported and the blade travels away from you.
- Rough out, then refine, then add detail, in that order.
At the end of the session, wipe the blade, strop it, and put the piece somewhere cool to dry with the date written on the bag. A fortnight in a bag of shavings is often the difference between a spoon you keep and a spoon you find in two halves.
Photo: Goumbik / Pixabay